Definition of ROLLER BANDAGE – Nursing is a profession within the healthcare sector focused on the care of individuals, families, and communities so they may attain, maintain, or recover optimal health and quality of life. Nurses may be differentiated from other healthcare providers by their approach to patient care, training, and scope of practice. Nurses practice in many specialisms with differing levels of prescriber authority.
Many nurses provide care within the ordering scope of physicians, and this traditional role has shaped the public image of nurses as care providers. However, nurses are permitted by most jurisdictions to practice independently in a variety of settings depending on training level. In the postwar period, nurse education has undergone a process of diversification towards advanced and specialized credentials, and many of the traditional regulations and provider roles are changing.
Nurses develop a plan of care, working collaboratively with physicians, therapists, the patient, the patient’s family, and other team members, that focus on treating illness to improve quality of life. Nurses may help coordinate the patient care performed by other members of an interdisciplinary healthcare team such as therapists, medical practitioners, and dietitians. Nurses provide care both interdependently, for example, with physicians, and independently as nursing professionals.
ROLLER BANDAGE
Roller bandages are made from lightweight cotton, crepe or elasticized crepe, depending on the pressure to be achieved. A lightweight cotton bandage is used to hold a dressing in place, whereas a crepe or elasticized crepe bandage is used for applying support or firm pressure to a soft tissue injury.
Roller bandages vary greatly depending on how they are to be used.baan di nyo 21 A roller bandage is used to:
- Hold a dressing in place on a wound
- Maintain pressure over a bulky pad to control bleeding
- Support an injured limb or joint
- Apply pressure to a limb
Types of Turn Used in Bandaging :
| Name of Turn | Description | Picture |
| The circular Turnalar: | It is the simplex and most commonly used in bandaging. It is mainly wrapping of a bandage. |  |
| Spiral Turn: | The turn over laps the previous turn only partially eg; fingers. | 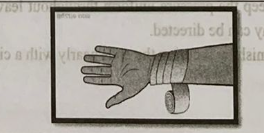 |
| Spiral reverse turn: | The turn involves reversing the bandage half way through each turn or overlapping a part of extremity. | 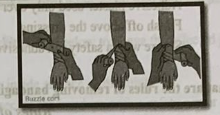 |
| Figure of eight: | Turn is accomplished by overlapping the turns on the in an alternately ascending and descending around a part. Uses: Over a limb, joint, elbow, knee, shoulders. |  |
| Spica: | Make an irregular figure of eight one loop larger than the other. Use: Base of thumbs, knee, heel, shoulders,thigh. | 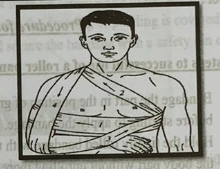 |
| Recurrent: (Capeline): | It is the head bandage with recurrent turns. | 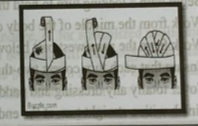 |
Special Points to remember
- Do not drop the bandage on the floor.
- Soak, used bandages to be disinfected before wash.
- Iron out if possible.
- Roll bandage firmly and neatly keeping ready for use.
Method of Securing a Bandage:
- Pinning
- Sewing
- Adhesive plaster used only over wounds.
- Finish off above the dressing.
- Secure with a safety pin adhesive plaster tape, or a bandage clip.
Rules of Removing Bandage:
1. Bandage should not fall on the floor.
2. Do not touch the bandage on the floor.
3. Avoid to touching patient/nurses dress during removal of a bandage.
4. Remove bandages slowly and carefully.
5. Avoid pain during removal of bandage.
Procedure for Applying Roller Bandage:
Basic steps to successful use of a roller bandage:
- Bandage the part in the position of greatest comfort to the patient. Support the part adequately before starting to apply the bandage.
- Hold the tightly rolled bandage with the ‘head’ of the bandage on top and wrap the ‘tail’ around the body part without unrolling more than a few centimetres at a time.
- Begin with a locking turn to hold the start of the bandage securely under each following turn.
- Work from the middle of the body or limb in an outwards direction.
- Work from the narrowest part below the dressing and work upwards.
- Ensure that each turn covers two-thirds of the previous turn.
- Cover totally any dressing and padding used.
- Finish with a straight turn at the end of the bandage.
- Secure the bandage with a safety pin or adhesive tape. Avoid the use of metal clips because they are less secure and can fall out during activity.
Applying a roller bandage to the lower arm or leg:
- Apply a dressing or padding over the affected area.
- Start with a diagonal, locking turn below the dressing or padding to secure the dressing.
- Continue up the limb, covering two-thirds of each previous turn.
- Finish with a straight turn to secure the bandage and fasten it with a pin or adhesive tape.
Applying a roller bandage to the elbow or knee:
- Apply a dressing or padding over the affected area.
- Start with a full turn over the point of the elbow or knee to secure the bandage.
- Make a second turn just below the first, exposing one-third of the initial turn over the point of the elbow or knee.
- Make a third turn just above the first, again exposing one-third of the initial turn over the point of the elbow or knee.
- Continue with one or two more turns alternately working from below to above the affected joint, until the dressing or padding is fully covered.
- Avoid any extra turns that will cause pressure on the inside surface of the joint.
- Finish with a full turn above the elbow or knee and secure the bandage with a safety pin or adhesive tape.
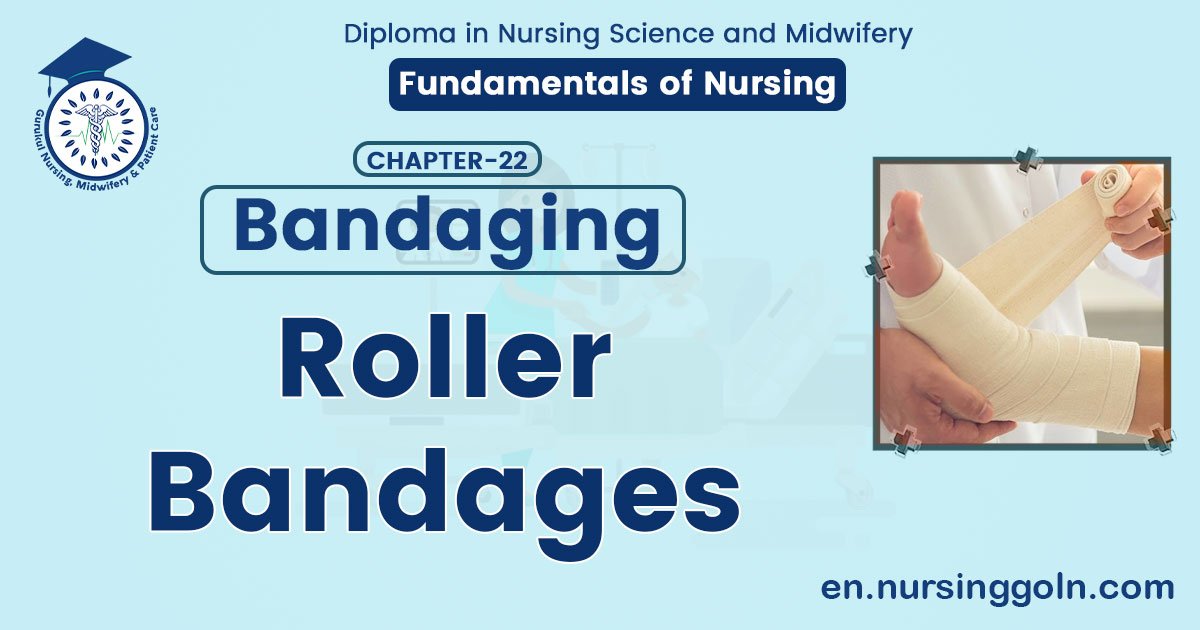
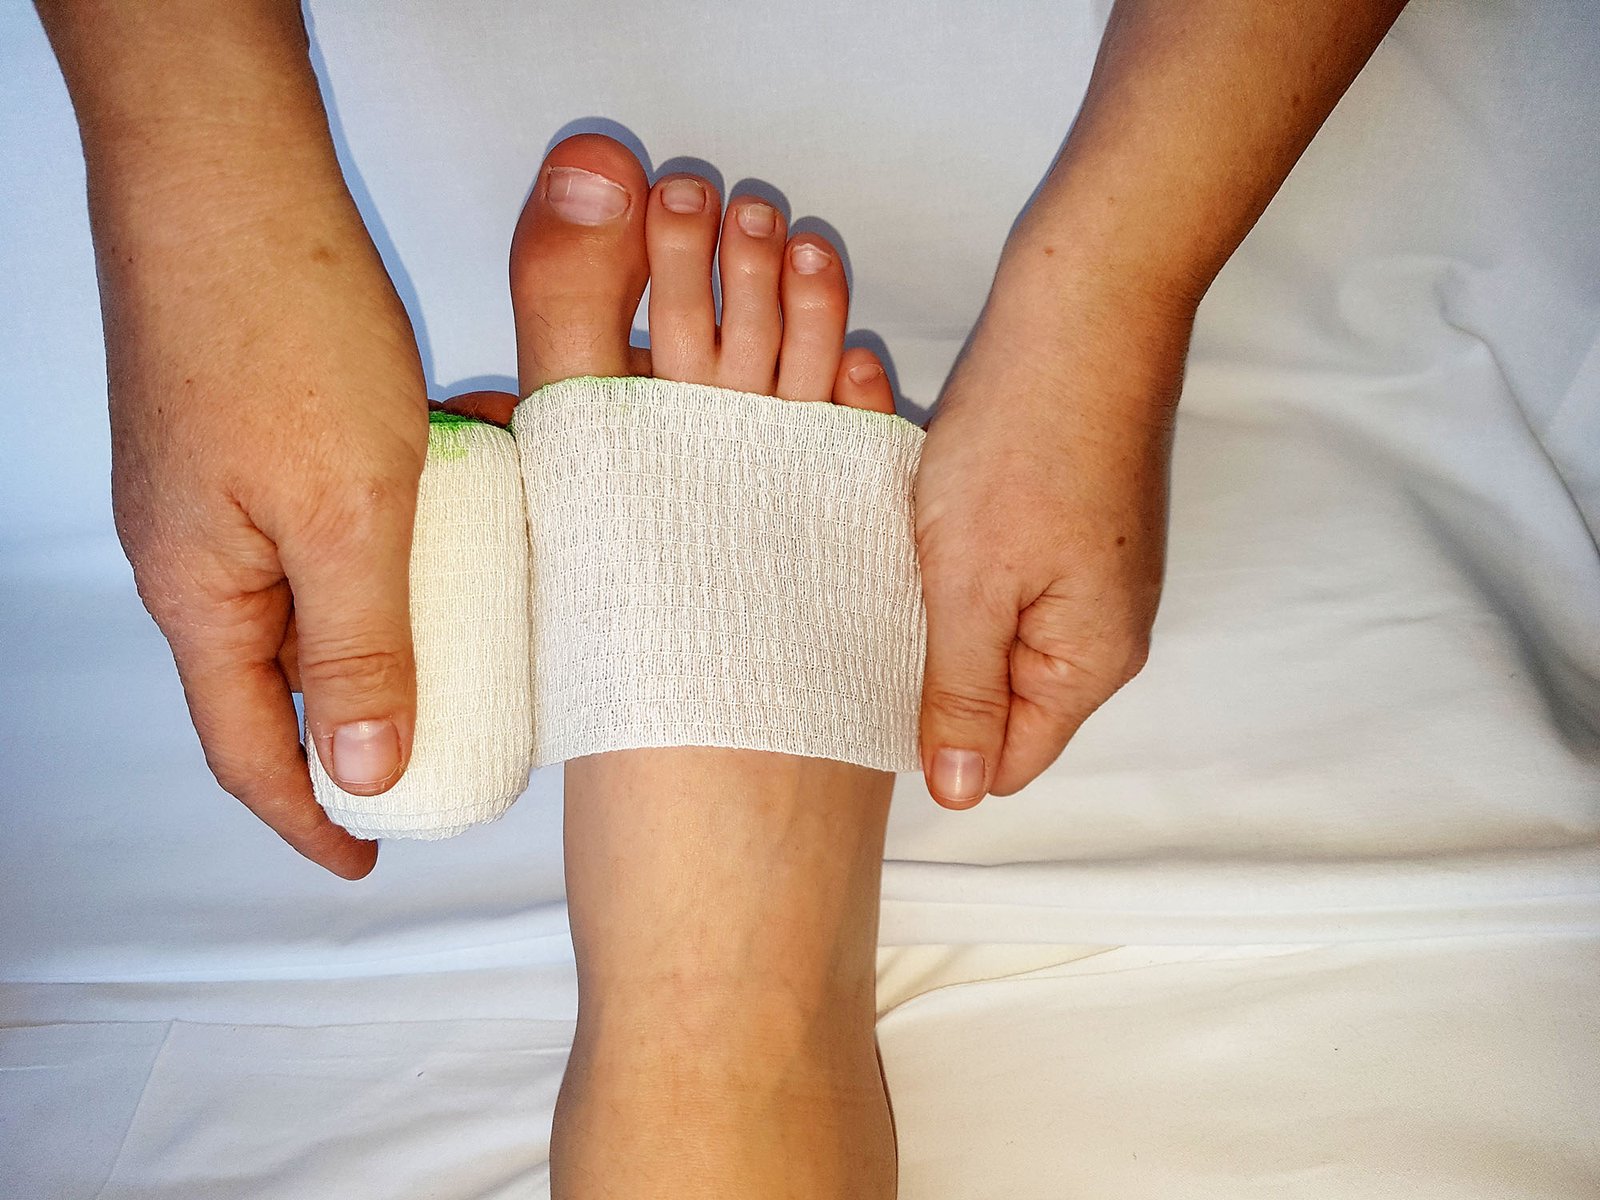
Applying a roller bandage to the hand or foot:
- Apply a dressing or padding over the affected area.
- Start with a diagonal, locking turn around the wrist or foot.
- Carry the bandage across the back of the hand or foot to the base of the little finger or little toe and then make a complete turnaround the fingers or toes.
- Make another turn across the back of the hand or foot from the fingers/toes to the wrist/ankle.
- Repeat these turns working upwards with each turn until the dressing or padding is covered.
- Finish with a circular turn around the wrist ankle and secure the bandage with a safety pin or adhesive tape.