
Computer and Information Technology Practical – This book covers the entire syllabus of “Computer & Information Technology” prescribed by the BNMC for B.Sc. in Nursing Science & Diploma in Nursing Science & Midwifery students. We tried to accommodate the latest information and topics.
This book is an examination setup according to the teachers’ lectures and examination questions. We hope in touch with the book students’ knowledge will be upgraded and flourished. The unique way of presentation may make your reading of the book a pleasurable experience.
Computer and Information Technology Practical
Procedure of windows xp installation
Step 1: Insert Your Windows XP Bootable Disk

For this step, you will need to open your CD-Rom drive and insert your Windows XP disk. You can now close the CD-Rom Drive.
Step 2: How to Boot From a CD
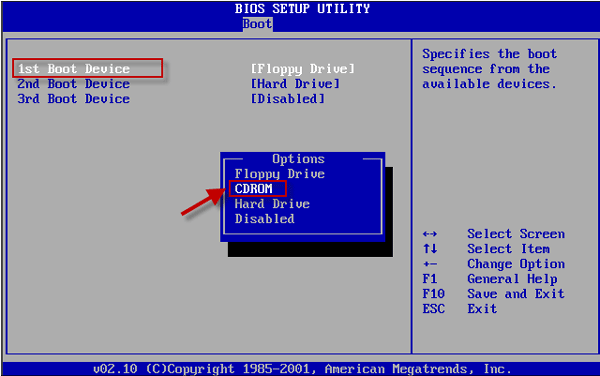
On most home computers, you will want to shut down your station. After the station is off, you can restart it. While the station is restarting, begin pressing the F12 key over and over again. This will take you to the boot options menu.
Now that you are in the boot options menu, you will need to use the arrow keys on your keyboard to move over the choice for an Onboard or USB CD-ROM Drive. Press Enter.
After you have pressed Enter, most Windows XP disks will prompt you to press any key to boot from the CD (As seen in picture 2). When this appears, you will have only a few seconds to press any key on the keyboard. I usually choose the Space-bar because it is the easiest to find and press.
Step 3: Beginning the Process
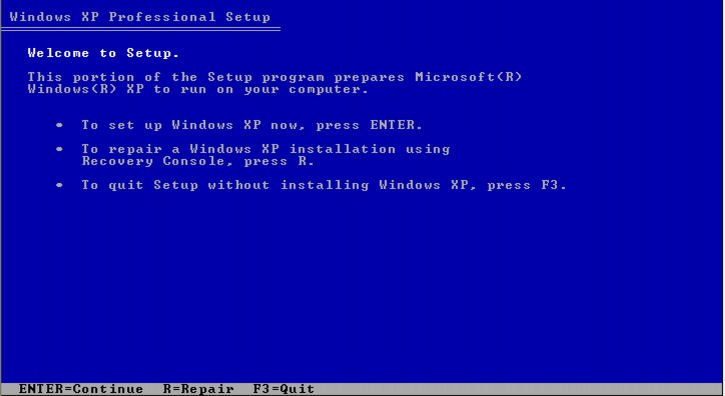
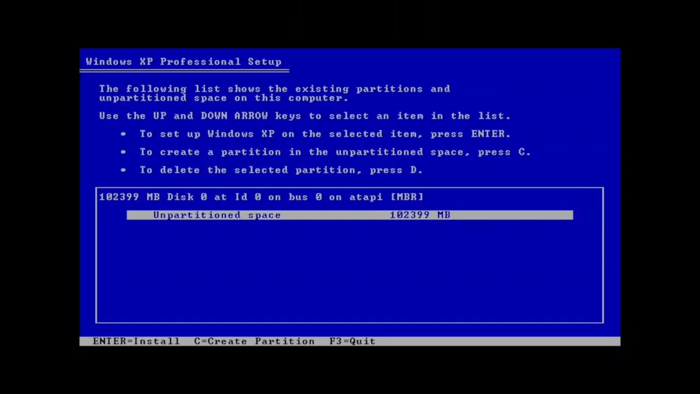
After you have chosen to boot from the CD, you will have to wait a few minutes. The disk will check your hard drive to see if windows XP is currently installed on it. After the disk has made its check you should see a screen like the one in the first picture on this page.
You will want to press Enter because you are planning on installing Windows XP on your system. If you realize that you have data on your hard drive and need to back it up, now would be the time to press F3 and exit the installation program to back it up.
Step 4: Licensing Agreement and Begin Setup
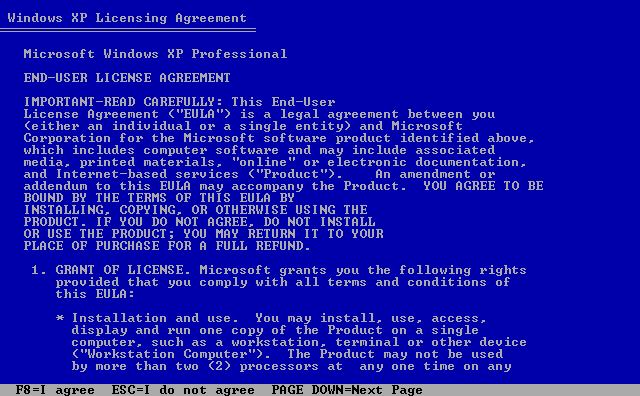
The next page that you will see is the Windows XP Licensing Agreement. On this page, you can take the time to read through the agreement, but it is just saying that you will not be breaking any laws using this product. I personally just hit F8 (to agree) and move on to the next step in the installation.
After pressing F8, you will come to the beginning of the Windows XP setup. On this page, you will want to press the Esc key on the keyboard. This will tell the program not to try and repair the current installation.
Step 5: Deleting the Current Partition
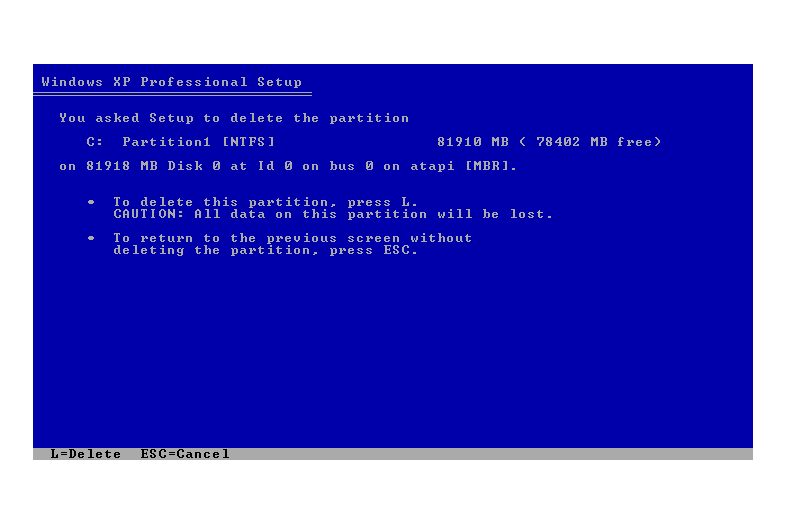
The next step in installing Windows XP is to delet the old partition on your hard drive. You will see a screen similar to the one in the first picture of this page. You will want to scroll over the C: partition that is current on your hard drive. The next thing you will need to do is click the D key. This will tell the program that you want to Delete the current partition.
After you click the D key, you will see a screen like the one in the second picture. On this screen you will want to press the L key to confirm the deletion of the partition of the hard drive.
Step 6: Beginning the Install
Now that you have deleted the old partition, you will need to be sure that partition is selected and press the Enter key. This will tell the program that you want to install Windows XP on that partition.
Step 7: Choosing the Type of Installation
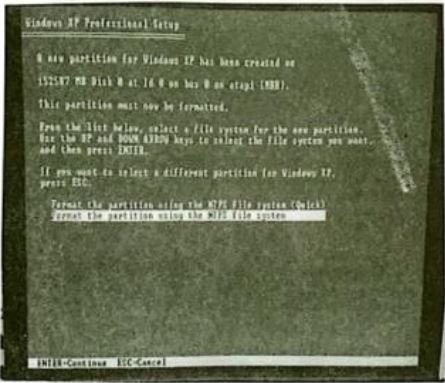
In this step, you will want to choose whether you want to have system do a quick installation or a standard installation. For the purposes of this set of instructions, I have chosen to do a standard installation. After choosing your method of installation, you will want to press the Enter key to continue to the installation.
Step 8: Allowing Windows XP to Install
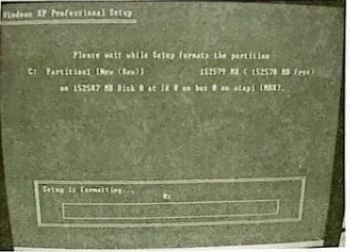
This step will probably be the longest step. This is because you are at the mercy of the system and how fast it installs Windows XP. After you have pressed the Enter key in the last step, you will see the screen in the first picture here appear. This will mean that the program is running the installation.
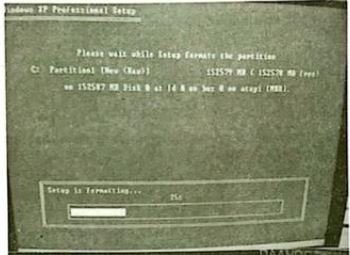
Over time, the progress bar will move across the screen, as shown in the second picture where the progress bar is at twenty-five percent. After the Installation has finished placing the file system on your hard drive, you will see the program restart your computer. Do not be alarmed at this. it will boot back up and you will see a screen similar to the third picture on this page.
Step 9: Choosing Your Keyboard Layout, Organization, and Computer Name
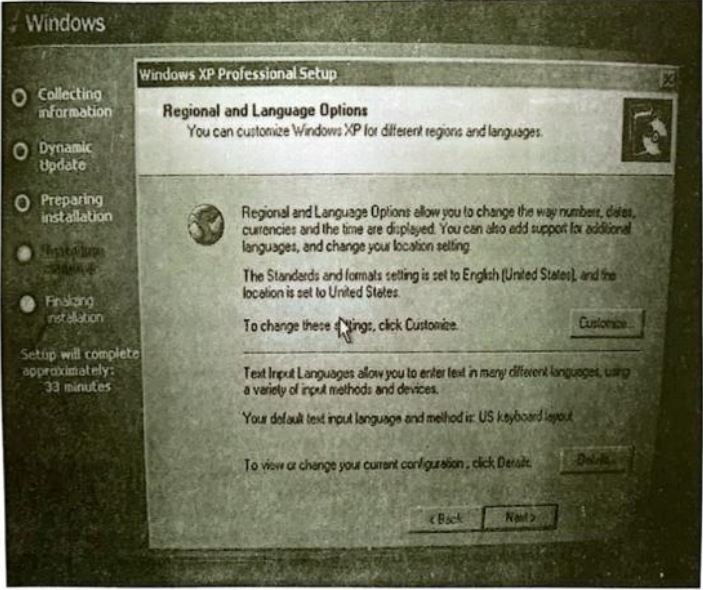
The first screen (seen in the first picture) that will come up will be a screen for you to select the language and keyboard style that you wish to use for your new installation of Windows XP. 1 have chosen to use the English Language and the US keyboard layout. You may select any configuration that you are comfortable with and then press the Next button.
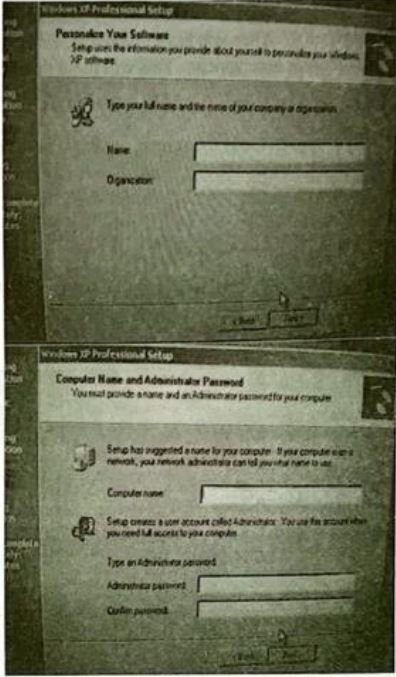
The next thing the program will ask for is the name and organization that this install is affiliated with (as seen in the second picture). You will want to fill this in with your information. After filling in the information, you will press the Next button.
When the next screen comes up (as seen in the third picture), you will want to choose the name you want to give to your computer and the password the Administrator of the computer will have. Press the Next button.
Step 10: Choosing Your Time Zone
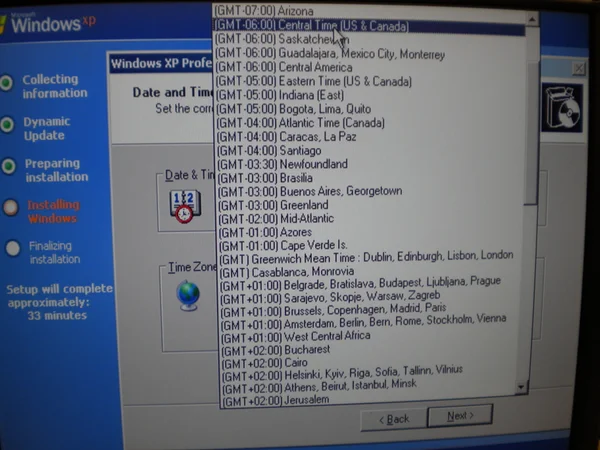
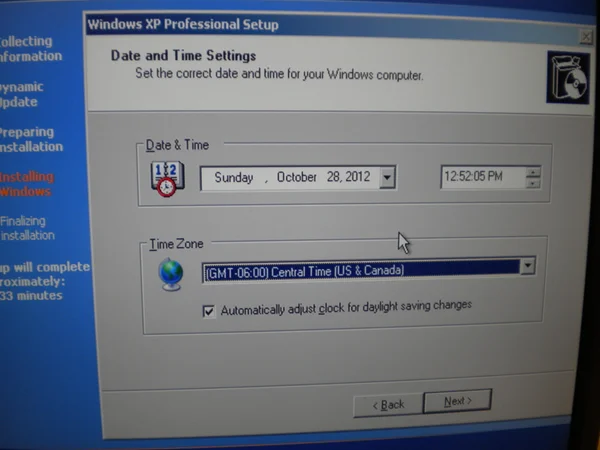
You will now see the area for you to choose the time and date to be set on the computer. This will correspond to the Time Zone in which you live. I live in the Central Time Zone, so I have chosen to have the date and time correspond to that. You may pick which ever you would like from this menu.
After choosing the Time Zone you are in, you will need to make sure the time is correct. This can be done by checking the time (as seen in the second picture).
Step 11: Waiting for Installation to Continue
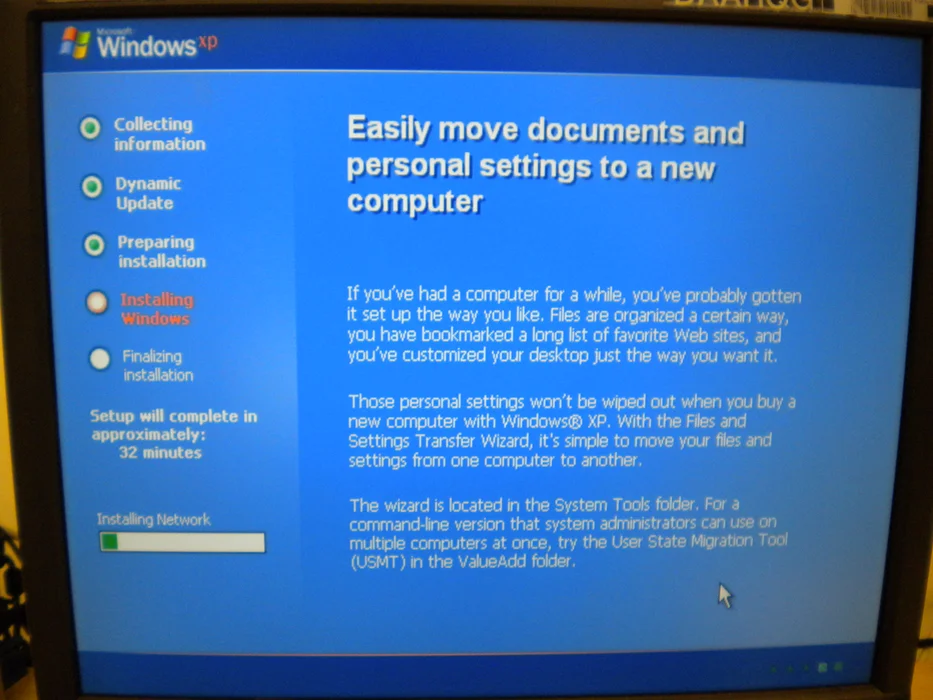
Now you will need to wait for the installation to continue before you can do anything more.
Step 12: Display Settings
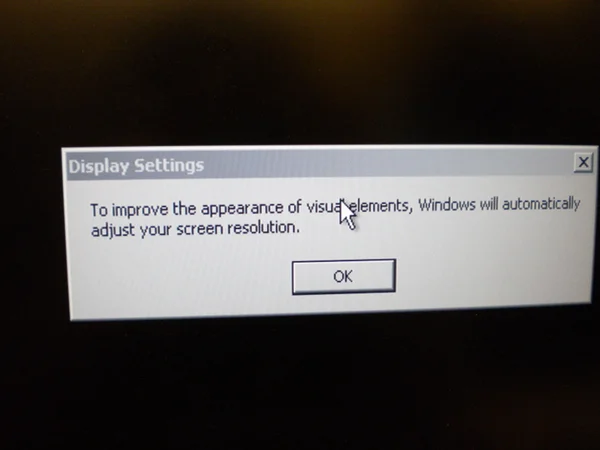
The installation will prompt you to improve the display settings (as seen in the first picture). You will need to press the OK button for this to continue.
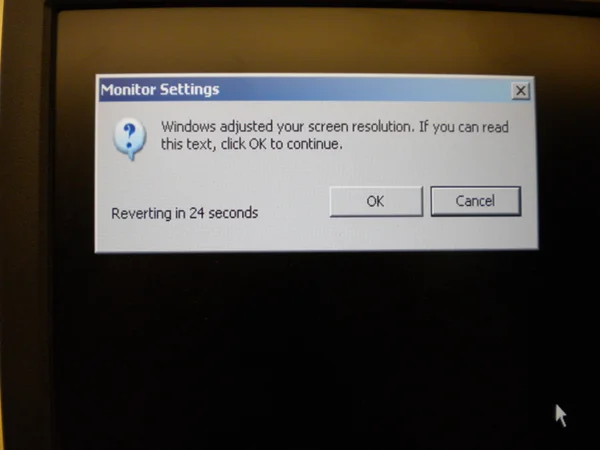
After pressing the OK button, you will see another box appear (like the one in the second picture). This box will want you to press the OK button also.
Step 13: Protecting Your Computer and Giving It a User
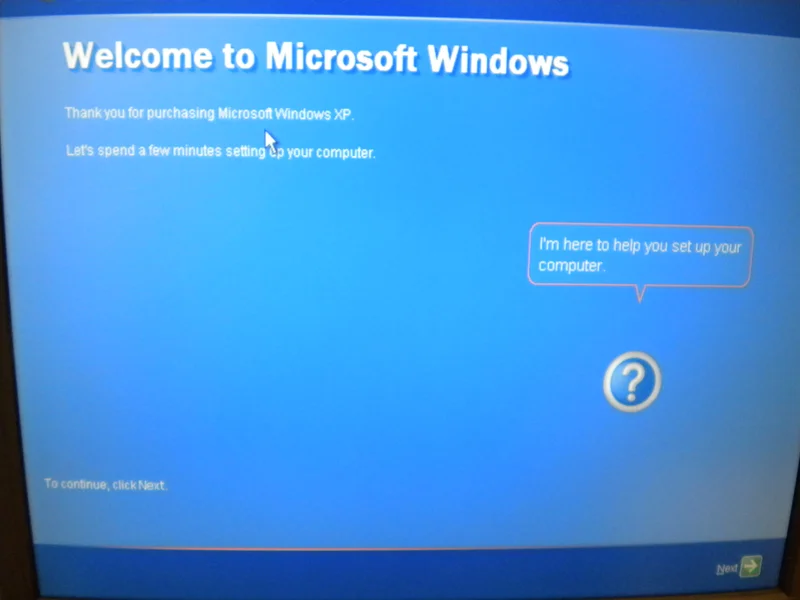
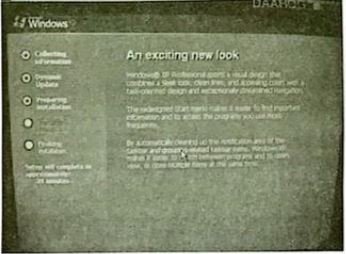
After pressing OK in the last step, you will see the Microsoft Windows welcome screen appear (like the first picture). On this page, you will want to press the next button at the bottom right.
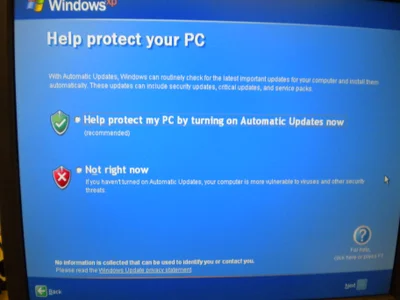
Now you will see a screen prompting you to protect your PC. You will want to decide if you want Windows XP to have automatic updates on or not. I chose to have the system do automatic updating to save from the hassle of having to be sure the computer’s user remembers to update the computer. After making your choice, you will need to press the next button in the bottom right.
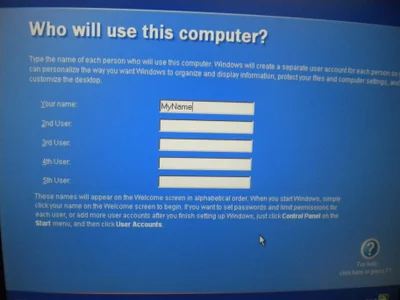
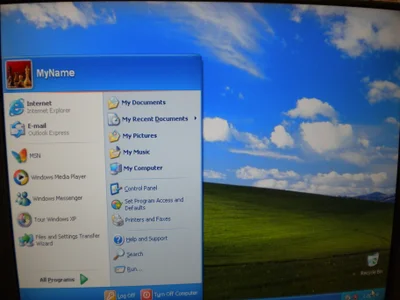
Now you will be prompted to give the computer a user. For the purposes of this set of instructions I gave it a user named “MyName”, but you can name this user whatever you would like. After giving the computer at least one user (you may want to give it many), you will need to press the next button.
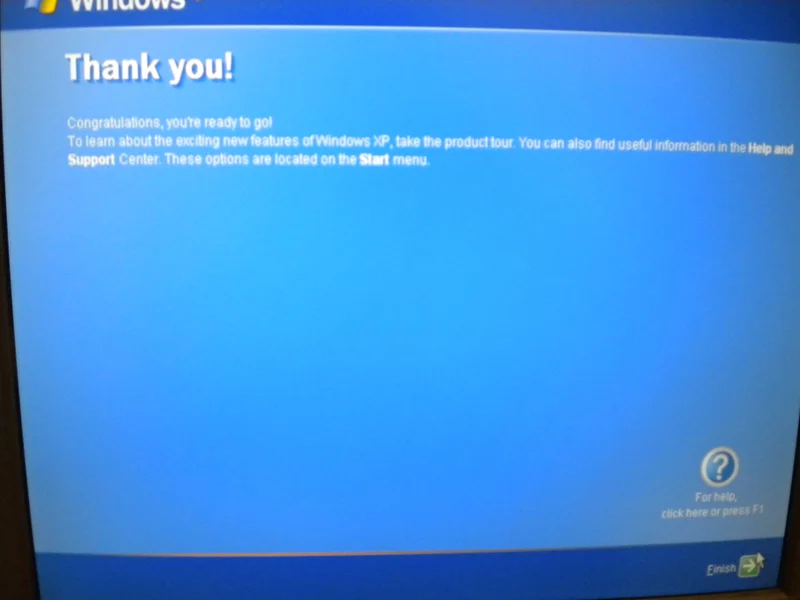
Step 14: Finishing the Installation


Microsoft Word
Follow these step-by-step instructions to start a document in Microsoft Word
Step 1:
From the desktop or from your ‘Start’ menu, open Microsoft Word.
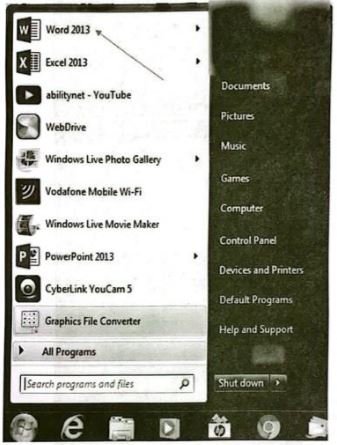
If the Word 2013 icon does not appear you can search for it, using the ‘Search programs and files’ box in the picture above.
Step 2:
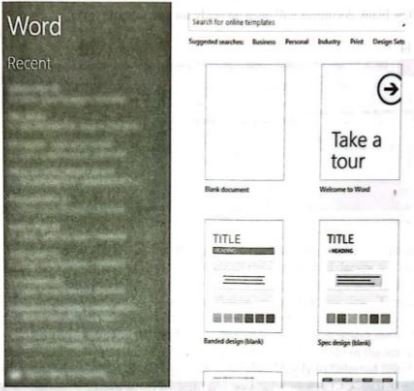
Microsoft Word will open up and present you with an option to select a document template, or a blank document.
Step 3:
If you don’t want to use any of the templates on display, click on the blank document.

Step 4:
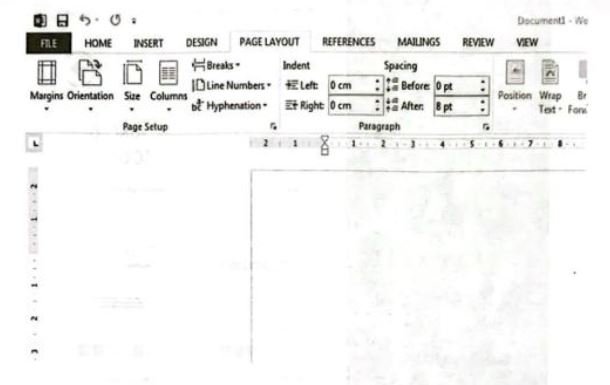
A new blank document will open up ready for you to start typing.
Microsoft PowerPoint
Step 1:
Launch the PowerPoint Program
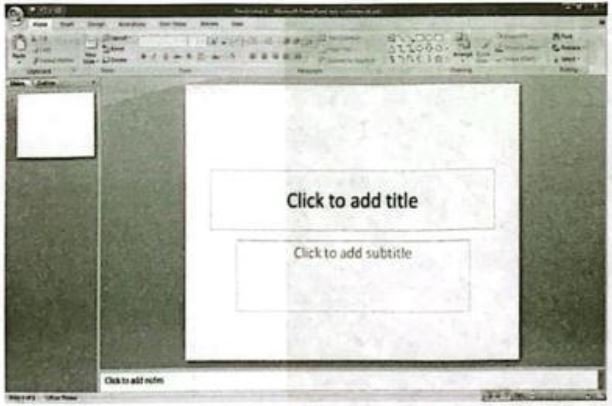
When you launch the PowerPoint program, you may be prompted to pick what kind of document you want to create. Choose to create a blank presentation. If it does not ask you this, a blank presentation will automatically launch.
Step 2:
Choosing a Design
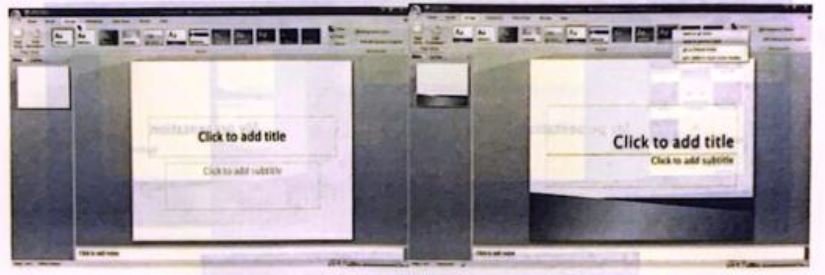
The next thing you want to do is decide what design you want for the presentation. To do this, go to the ‘Design’ tab at the top of the page. Scroll through all the options and decide which one looks best for the presentation you want. To get a preview of what the design will look like before applying it to the presentation, hover over the design you want to preview.
This design will be automatically continued throughout the rest of your presentation. Once you have more than one slide, you can add a different design for just one slide. To do this, select the slide you want to change the design on by clicking on it.
It will pop-up as the big slide in the screen. Then you can right-click the design you want for this slide and select ‘Apply to Selected Slide’. It will appear on that slide, but will not change the design of the other slides.
Step 3:
Create Title Page
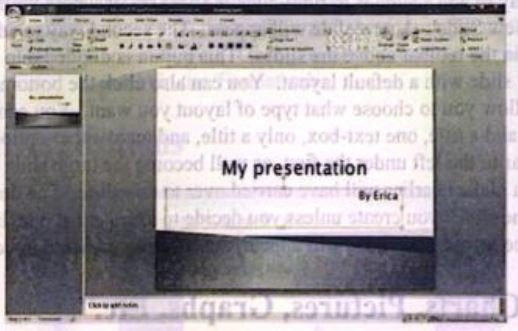
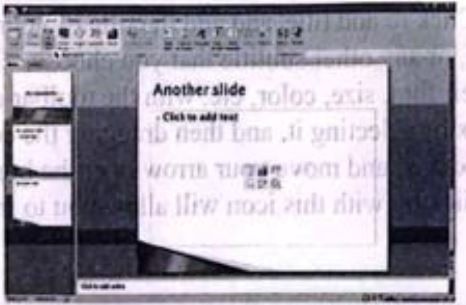
Click the first box that says ‘Click to add title’ and add the title of your presentation. Click the bottom box to add your name, or any other subtitle that you choose. Once you have your text in the boxes, you can change their font, size, color, ete, with the toolbar options at the top.
You can change the size of the text box by selecting it, and then dragging the corners of the box. To move the text boxes, select the box, and move your arrow over the border of the box. A four- arrow icon will appear, and clicking with this icon will allow you to move the text boxes wherever you choose.
Step 4:
Add More Slides
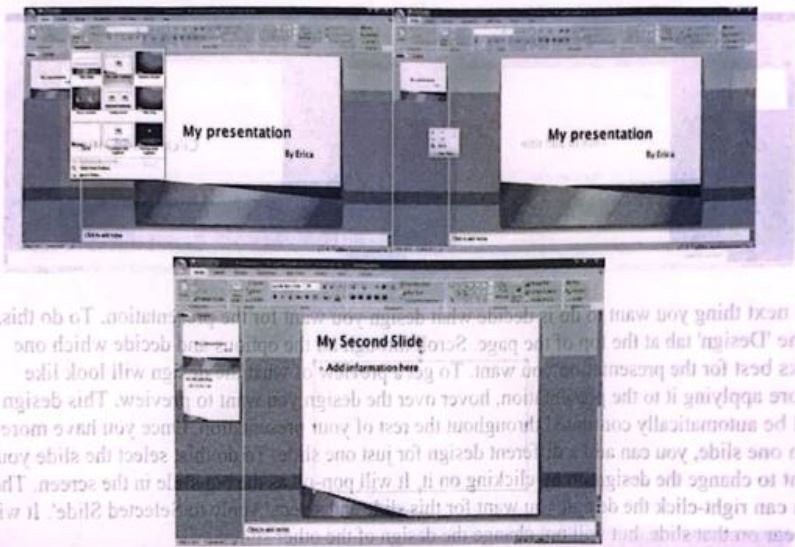
Chances are, you are going to need more than one slide. There are a few ways you can add more slides. Notice that there is a separate area to the left of the screen where your first slide is located. The first way to add a slide is to right-click the area under where your first slide is located and select ‘New Slide’. A new slide will appear.
The second way to add another slide it to click ‘New Slide’ in the toolbar above the slides. This button is divided into two parts,. The top will insert a new slide with a default layout. You can also click the bottom half of this button, which will allow you to choose what type of layout you want. You can choose a slide with two text-boxes and a title, one text-box, only a title, and many other options.
You will see your new slide appear to the left under the first, as well become the large slide that you can edit. The design you picked earlier will have carried over to this slide. The design will carry over for the rest of the slides you create unless you decide to change just one, like described earlier. The guideline layout you chose will appear, and you can then add in your information.
Step 5:
Add Charts, Pictures, Graphs, Etc.
If you want to insert a chart, picture, graph, or any other graphic, click on the “Insert’ tab at the top of the window. Here you will see buttons of all the options of what you can insert into your slide. Click the designated box and insert what it is you want to have on that slide.
A second way you can insert pictures and graphs is when you have an empty text or image box. Little pictures of the same options you saw in the toolbox will show up in the middle of the box, and you can click any of these to insert as well. Once you have your chart or picture, you can add a border or edit it however you want in the ‘Format’ tab.
Step 6:
Add Transitions
To add transitions in between your slides, click the ‘Animations’ tab at the top of the page. Here you can scroll through all the options of transitions, and hover over them to see a preview. Select the slide you want the transition applied to, and then click the transition you chose. You can do this for every slide, selecting the same or different transitions.
Step 7:
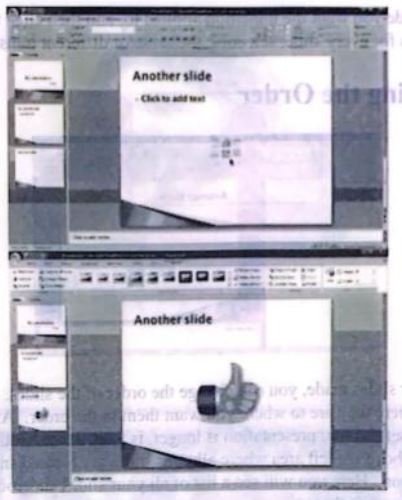
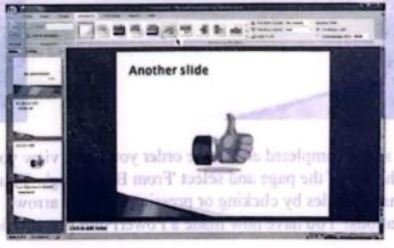
Changing the Order
Once you have all your slides made, you can change the order of the slides. To do this, click and drag the slides from where they are to where you want them in the order. Another possibility, which is particularly useful if you presentation is longer, is to click the ‘Outline’ button.
You can find this small button above the left area where all your slides are located smaller, directly to the right of the ‘Slides’ button. Here you will see a list of all your slides and you can click and drag your slides to where you want them.
Step 8:
Play the Presentation

Once you have all your slides completed and in the order you want, view your slideshow. Click the ‘Slide Show’ tab at the top of the page and select ‘From Beginning’. You can go through your entire slideshow, and change slides by clicking or pressing the right arrow. A shortcut to this is pressing F5. Congratulations! You have now made a PowerPoint presentation.
Read more: